Preparing a soil sample the right way takes the guesswork out of maintaining a healthy lawn. Simply gather 10 to 15 soil cores in a bucket, mix them together to form a complete sample, label your sample, and send it to your state’s extension service.
After analyzing your sample, the service will email your results to you, helping you determine exactly what amendments your soil needs (e.g., fertilizer or lime). Knowing precisely how to prepare a soil sample ensures you receive the most accurate information about your soil’s health.
Table of Contents: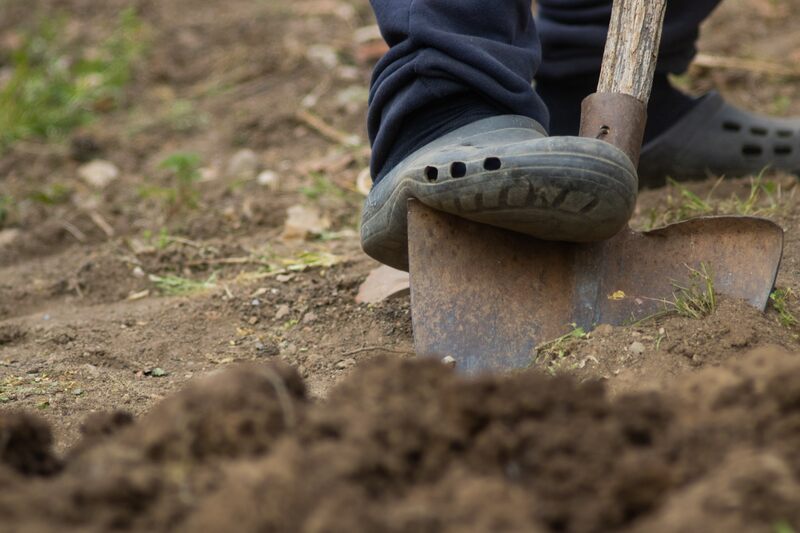
While you can use a shovel or a garden trowel, the easiest method of soil collection is with a soil sampler probe. Insert your tool about six inches deep, pull the soil from your lawn, and remove any grass or layers of thatch. Repeat this process 10 to 15 times across similar areas of your lawn. Set each core aside in one plastic bucket.
Sample problem areas separately, following the same steps listed above. Why? Not separating them will throw off your main test results and won’t reveal the actual problem you’re dealing with in those spots. This means you’ll need to gather more than one sample.
Only have a shovel or garden trowel? No problem. Place it six inches deep, pull up the soil, and then break away the sides of the dirt you pulled up. This gets rid of any excess topsoil, which can interfere with your results, and slims down the portion to be more like one taken by a sample probe.
Pro Tip: Only use tools made of stainless steel or chrome to scoop up your soil; otherwise, you risk contaminating the sample with metals like copper or zinc.
After collecting several soil cores in your bucket, stir the contents to combine them thoroughly. Then, transfer one or two cups of this sample into a regular plastic storage bag, paper bag or cardboard box made especially for soil samples. (Some extension services will provide the latter two items for you, and they’ll have a maximum fill line).
Unless you’re using an at-home soil test kit, you’ll need to provide the extension service to which you’re submitting your soil sample with the following information:
Once your soil sample has been collected, bagged, and labeled, it’s time to mail it to your extension service for analysis. Upon receipt, the lab may take a few weeks to get results back to you.
Soil sample testing can be done any time of year, except during winter when the soil is covered in frost or snow. But, the best times of the year to conduct a soil test are late summer or early fall. This way, if your soil needs any amendments, there’ll be plenty of time for those amendments to take effect before the next growing season.
In terms of testing regularity, you can do so once every three to five years. It’s also important to test your soil during the same season each time, as seasonal changes affect nutrient amounts.
Note: If you’re testing for nitrogen levels, that can be done more often (about once per year), as those levels can change quickly — a heavy rain can wash away nitrogen, for example.
While home soil testing kits are widely available online or at your local hardware or garden stores, the most accurate way of determining your soil’s makeup is through your state’s extension service.
As professionals, cooperative extension scientists will analyze your soil with the latest equipment and provide you with a detailed report of your soil’s nutrients and pH. The report will also include recommendations for any necessary soil amendments, depending on what you’re growing.
A soil sample is simply a mix of subsamples. Subsamples are the various 10 to 15 soil cores you collect from around your yard and toss in your bucket. When you stir up those subsamples in your bucket and scoop out some to send off for testing, that becomes your actual soil sample.
Six inches is the sweet spot when it comes to soil testing because it gives you a good mix of the different layers of soil. The shallower layers hold the most amount of nutrients, while the deeper layers contain less; if you sample less or more than six inches, your test results won’t be as accurate.
An easy DIY project, soil sampling is the quickest and easiest when you use a soil sampler probe. Once you’ve received your results, hire a lawn care professional near you to help you interpret the results and implement necessary adjustments. While you’re at it, set up a schedule with these pros to take care of your lawn on a regular basis. This can include mowing, trimming, fertilizing, and mulching.
Main Image Credit: Phoebe / Adobe Stock Free / License
Andréa Butler is a writer and editor who loves crafting witty turns of phrase and informative, compelling copy on various topics. She especially enjoys sharing her knowledge of landscaping and pest management to help others create the outdoor spaces of their dreams.
As seen in Forbes, CNBC and USA Today, LawnStarter makes it easy to schedule service with a local lawn care professional.
Get a quote in minutes.
Manage everything online.
Enjoy your beautiful lawn.

Get easy-to-understand, actionable yard tips that will give you the greenest grass on the block.